Tired of cold tiles in the winter? Imagine stepping onto a luxuriously warm floor every morning. Underfloor heating (UFH) is no longer a luxury; it's an affordable upgrade. But the thought of installing it yourself can be daunting. This guide is designed to eliminate the fear and empower you to install underfloor heating, even if you've never touched a plumbing tool before. We'll break down the process, explain the tools you'll need, and help you decide if DIY is the right choice for you. Get ready to transform your home, one warm step at a time.
What Type of Underfloor Heating Should I Choose? Electric vs. Wet?
The first critical decision is choosing between electric and wet (hydronic) underfloor heating systems. Each has its pros and cons.
-
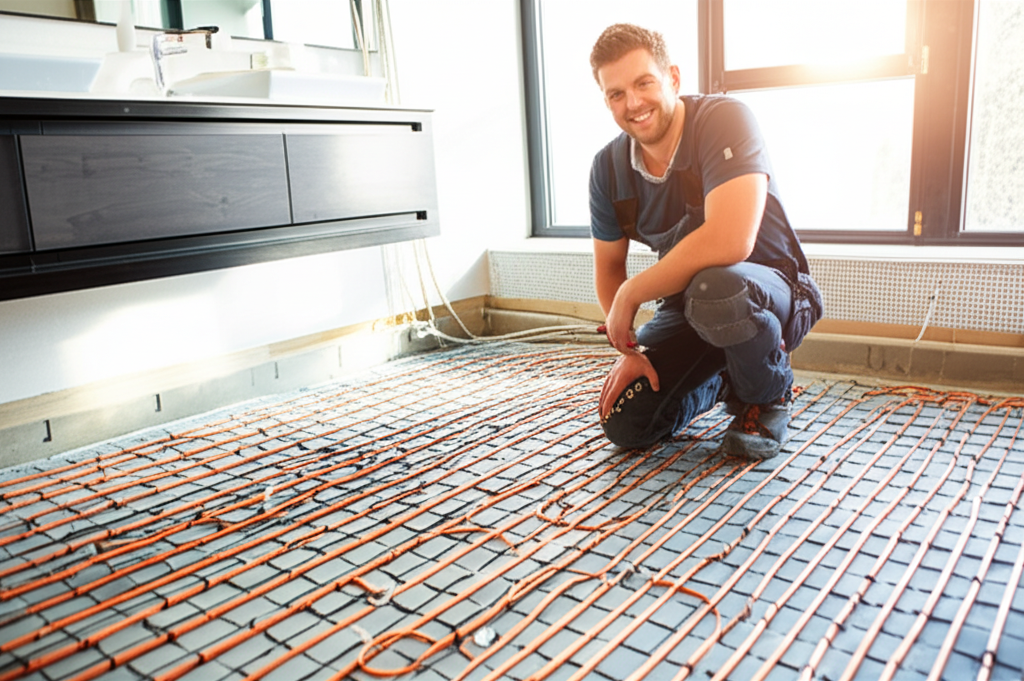
Electric Underfloor Heating: This system uses electric mats or cables installed under the floor covering.
- Pros: Easier and faster to install, ideal for smaller areas, lower initial cost.
- Cons: Higher running costs (electricity is generally more expensive than gas), less efficient for larger areas.
-
Wet (Hydronic) Underfloor Heating: This system circulates warm water through pipes beneath the floor.
- Pros: Lower running costs, more efficient for larger areas, can be connected to various heat sources (boiler, heat pump).
- Cons: More complex installation, higher initial cost, requires more space for components.
Which is right for you? If you're heating a small bathroom, electric UFH is a great option. For larger spaces or whole-house heating, wet UFH is generally more cost-effective in the long run.
What Tools and Materials Do I Need to Install Underfloor Heating?
Before you begin, gather the necessary tools and materials. The specific items will vary depending on whether you're installing electric or wet UFH.
General Tools and Materials (Both Electric & Wet):
- Tape measure
- Cleaning supplies (vacuum, broom)
- Damp-proof membrane
- Edge insulation
- Screed or leveling compound (if needed)
- Floor covering adhesive (if needed)
Electric Underfloor Heating Specific:
- Scissors/Sharp knife (for cutting mats)
- Wire cutters/strippers
- Multimeter
- Joint tape
- Electric UFH mat or cable kit
- Conduit
- Screwdriver
Wet Underfloor Heating Specific:
- Pipe cutter
- Pipe re-rounding tool
- Pipe fixing clips or egg crate panels
- Insulation boards and fixings
- Pre-grooved pipe boards (optional)
- Water pipe
- Manifold
- Thermostat
- Heating pump
Important Note: Always consult the manufacturer's instructions for your specific UFH kit for a complete list of required materials.
How Do I Prepare the Subfloor for Underfloor Heating Installation?
Proper subfloor preparation is crucial for a successful UFH installation.
Step 1: Clean the Area
Thoroughly clean the entire area where you'll be installing the UFH. Remove any debris, dust, or existing floor coverings.
Step 2: Level the Surface
Check for any unevenness in the subfloor. If there are significant dips or bumps, apply a self-leveling compound or screed to create a smooth, even surface. This ensures proper heat distribution and prevents damage to the UFH system.
Step 3: Install Damp-Proof Membrane
Lay a damp-proof membrane over the subfloor to protect the UFH system from moisture. Overlap the edges of the membrane and tape them securely.
Step 4: Install Edge Insulation
Install edge insulation around the perimeter of the room. This helps to prevent heat loss and allows for expansion and contraction of the floor.
How Do I Install Electric Underfloor Heating? (Step-by-Step)
Electric UFH is generally easier to install than wet UFH. Here's a simplified step-by-step guide:
Step 1: Lay Out the Heating Mats
Position the heating mats according to the manufacturer's instructions. Avoid overlapping the mats or placing them under furniture or fixtures.
Step 2: Secure the Mats
Use joint tape to secure the mats to the subfloor. Ensure the mats are flat and properly positioned.
Step 3: Connect the Wiring
Connect the wiring to the thermostat, following the manufacturer's instructions. Important: This step should be performed by a qualified electrician to ensure safety and compliance with local electrical codes.
Step 4: Test the System
Before covering the mats, test the system with a multimeter to ensure it's functioning correctly.
Step 5: Cover with Self-Leveling Compound (Optional)
Depending on your floor covering, you may need to cover the mats with a thin layer of self-leveling compound to create a smooth surface.
Step 6: Install Floor Covering
Once the self-leveling compound has dried, install your chosen floor covering according to the manufacturer's instructions.
How Do I Install Wet Underfloor Heating? (Step-by-Step)
Wet UFH installation is more complex and requires some plumbing knowledge.
Step 1: Install the Manifold
Mount the manifold on a wall that can support its weight. Connect the manifold to the water supply and return pipes.
Step 2: Lay Insulation Boards
Lay insulation boards over the subfloor to minimize heat loss. Use pre-grooved boards or secure the pipes to plain boards with pipe fixing clips.
Step 3: Lay the Pipework
Lay the pipework according to your chosen design, ensuring a minimum spacing of 200mm between coils. Connect the pipes to the manifold.
Step 4: Pressure Test the System
Pressure test the system to check for leaks. Repair any leaks before proceeding.
Step 5: Cover with Screed
Cover the pipework with a screed layer. Ensure the screed is level and smooth.
Step 6: Connect to Boiler and Thermostat
Connect the manifold to the boiler pump and thermostat. Important: This step should be performed by a qualified plumber.
Step 7: Install Floor Covering
Once the screed has cured, install your chosen floor covering.
What Are Some Common Mistakes to Avoid During Underfloor Heating Installation?
- Skipping Subfloor Preparation: A poorly prepared subfloor can lead to uneven heat distribution and system failure.
- Incorrect Pipe Spacing (Wet UFH): Improper spacing can result in cold spots.
- Overlapping Electric Mats: Overlapping mats can cause overheating and damage to the system.
- Cutting Electric Wires: Never cut electric wires to shorten them. Use the correct size mat for your area.
- Ignoring Manufacturer's Instructions: Always follow the manufacturer's instructions for your specific UFH kit.
- Not Hiring a Professional: If you're unsure about any part of the installation process, hire a qualified plumber or electrician.
How Much Does it Cost to Install Underfloor Heating?
The cost of installing underfloor heating varies depending on the type of system, the size of the area, and whether you hire a professional.
- Electric UFH: £50-£85 per m² (supply and installation)
- Wet UFH: £120-£185 per m² (supply and installation)
DIY installation can save you money on labor costs, but it's important to weigh the risks and benefits carefully.
Frequently Asked Questions
How easy is it to install underfloor heating myself?
Electric underfloor heating is generally easier for DIYers than wet systems. However, both require careful planning and attention to detail. Always consult a professional if you're unsure about any part of the process.
How much does it cost to run underfloor heating?
Running costs depend on the type of system, the size of the area, and your energy rates. Wet underfloor heating is generally cheaper to run than electric.
Can I install underfloor heating under any type of flooring?
Most types of flooring are compatible with underfloor heating, including tile, stone, laminate, and vinyl. Carpet can also be used, but it may reduce the efficiency of the system. Always check with the flooring manufacturer to ensure compatibility.
Ready to Feel the Warmth?
Installing underfloor heating can seem daunting, but with careful planning and the right tools, it's achievable for many DIYers. Remember to prioritize safety, follow the manufacturer's instructions, and consult a professional when needed. Now go forth and create the warm, comfortable home you've always dreamed of! Your toes will thank you.