Let's be honest: the thought of laying tile can be intimidating. Visions of uneven surfaces, crooked lines, and expensive mistakes dance in your head, right? But what if I told you that even the clumsiest among us can achieve a professional-looking tile job? This guide strips away the complexity and gives you a simple, step-by-step process that minimizes errors and maximizes confidence. Prepare to transform your space – and your DIY skills!
Why is Planning Absolutely Crucial for Tiling Success?
Tiling isn't just about sticking squares to a surface; it's about precision and foresight. A well-laid plan is your best defense against costly mistakes and frustration. Think of it as a roadmap to your dream floor or backsplash.
How do I Map Out My Tiling Project?
- Measure Accurately: Start by measuring the area you'll be tiling. Double-check your measurements – mistakes here will compound later.
- Calculate Tile Needs: Determine how many tiles you'll need, accounting for cuts and waste (add at least 10% extra).
- Create a Layout: Draw a diagram of the room and experiment with different tile layouts. Consider the focal point of the room and how the tile pattern will enhance it.
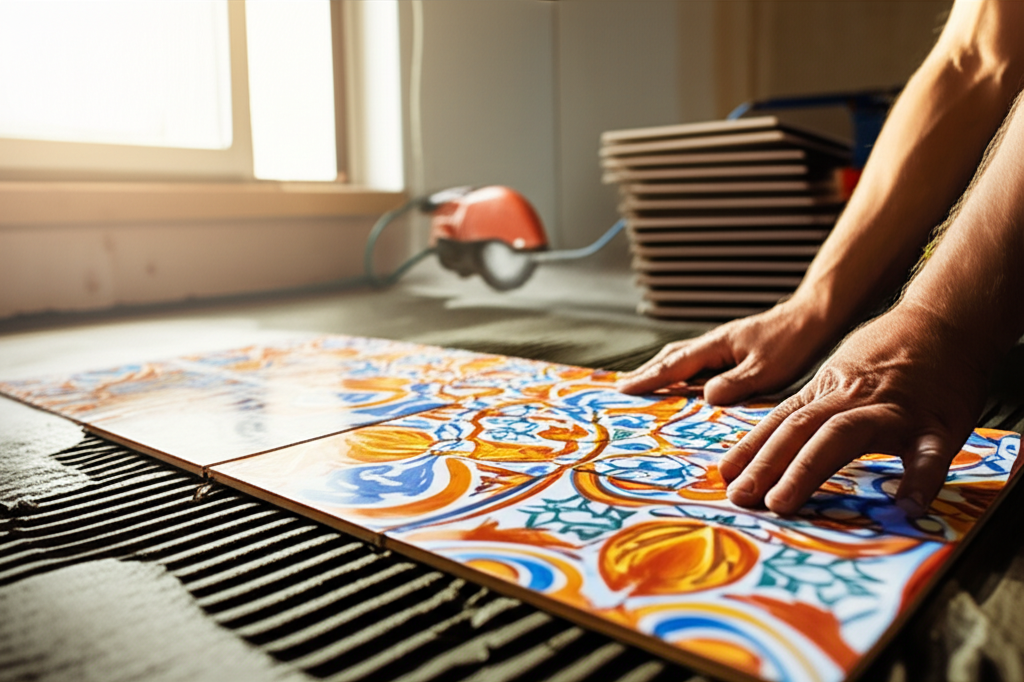
- Dry Fit: Before applying any mortar, lay out the tiles on the floor (dry fitting). This allows you to visualize the final result and make adjustments.
- Mark Cut Lines: Clearly mark where you'll need to make cuts on the tiles.
What Floor Preparations Should I Prioritize?
A solid foundation is essential for a long-lasting and beautiful tile job. Neglecting floor preparation can lead to cracking, unevenness, and ultimately, a failed installation.
What Specific Steps are Involved in Floor Prep?
- Remove Existing Flooring: Remove any existing flooring, such as carpet, vinyl, or old tile.
- Clean the Subfloor: Thoroughly clean the subfloor to remove any debris, dust, or adhesive residue. Vacuuming and scraping are essential.
- Level the Subfloor: Check for any unevenness or dips in the subfloor. Use a self-leveling compound to create a perfectly flat surface.
- Repair Cracks: Fill any cracks in the subfloor with a crack filler.
- Consider an Uncoupling Membrane: Depending on the subfloor and the type of tile, an uncoupling membrane may be necessary to prevent cracking. Research local practices and consult with professionals.
Do I Need an Uncoupling Membrane? What are the Benefits?
An uncoupling membrane acts as a buffer between the tile and the subfloor, absorbing movement and preventing cracks. It's not always necessary, but it's a worthwhile investment in certain situations.
When is an Uncoupling Membrane Recommended?
- Cracked Subfloors: If your subfloor has existing cracks or is prone to cracking.
- Large Format Tiles: When using large format tiles, which are more susceptible to cracking.
- Areas with High Traffic: In areas with heavy foot traffic or significant temperature fluctuations.
- New Construction: In newly constructed homes, where settling is still occurring.
How Do I Choose the Right Mortar and Grout for My Tiles?
Selecting the correct mortar and grout is just as important as choosing the right tiles. They are the glue that holds everything together and contribute to the overall look and durability of your project.
What Types of Mortar and Grout Should I Consider?
- Thinset Mortar: Choose a "flex" type thinset mortar for its ability to withstand slight movements. For large format tiles, use an LFT (Large Format Tile) mortar. Pre-mixed thinset is suitable for small jobs, but mixing your own is generally recommended for larger projects.
- Grout: Pre-mixed grout offers better color consistency, especially with darker colors. For light-colored grout, use a white thinset mortar to avoid staining the edges of the tiles.
- Epoxy Grout: Epoxy grout is more durable and stain-resistant than cement-based grout, making it a good choice for high-traffic areas or areas exposed to moisture.
What's the Easiest Way to Make Accurate Tile Cuts?
Cutting tiles can be the most nerve-wracking part of the process. However, with the right tools and techniques, you can achieve clean and precise cuts.
Tips for Cutting Tiles Like a Pro:
- Use a Wet Saw: A wet saw with a diamond blade is the best tool for cutting tiles. The water cools the blade and prevents the tile from chipping.
- Mark Your Cuts: Clearly mark your cut lines on the tile with a pencil or marker.
- Slow and Steady: Feed the tile slowly and steadily through the saw, allowing the blade to do the work.
- Practice Makes Perfect: Practice cutting on scrap tiles before cutting your actual tiles.
- Safety First: Always wear safety glasses and gloves when using a wet saw.
How Can I Avoid Common Tiling Mistakes?
Even with careful planning, mistakes can happen. Here's how to avoid some common pitfalls:
- Using the Wrong Thinset Color: Always use white thinset when using light-colored grout to avoid staining the tile edges.
- Not Cleaning Up Excess Mortar: Clean up excess mortar immediately with a damp sponge. Dried mortar is much harder to remove.
- Rushing the Grouting Process: Allow the mortar to fully cure before grouting. Follow the manufacturer's instructions for drying times.
- Skipping the Sealer: Seal your grout to protect it from stains and moisture.
Frequently Asked Questions
How long does it take for thinset to dry before grouting?
Typically, thinset needs 24-72 hours to dry completely before you can start grouting. Check the specific instructions on your thinset mortar for the manufacturer's recommended drying time.
What's the best way to clean tile after installation?
After grouting, use a grout haze remover to remove any leftover residue. Then, clean the tile with a mild detergent and water. Avoid using abrasive cleaners, which can scratch the tile.
Can I tile over existing tile?
Yes, you can tile over existing tile, but it's important to ensure that the existing tile is clean, level, and securely bonded to the subfloor. You may also need to use a bonding agent to improve adhesion.
You've Got This!
Laying tile doesn't have to be a daunting task. By following these tips and taking your time, you can achieve a beautiful and professional-looking result, even if you consider yourself clumsy. The key is preparation, patience, and a willingness to learn. Now, go forth and transform your space!