That sinking feeling when you spot a water stain on your ceiling... We've all been there (or dread being there). But what if I told you the key to preventing those disastrous roof leaks isn't just about expensive materials or complex repairs? It's about one often-overlooked detail that can make or break your roof's ability to withstand the elements. What is it? Meticulous attention to flashing – the unsung hero of roof waterproofing.
This article isn't just another guide to patching holes. We're diving deep into the world of roof leaks, revealing the early warning signs, pinpointing the most common sources, and equipping you with the knowledge to either tackle DIY repairs or confidently hire a professional. Get ready to transform from a worried homeowner into a proactive protector of your property.
How Do I Recognize the First Signs of a Roof Leak?
Don't wait for the drip, drip, drip! Your home usually whispers warnings long before water starts pouring in. Learning to decipher these subtle clues can save you thousands in repairs.
Interior Clues: What to Look For Inside Your Home
Start your investigation indoors, where the signs are often the most obvious.
- Stains and Discoloration: Yellow, brown, or copper-colored spots on ceilings or walls are telltale signs of water intrusion.
- Peeling or Bubbling Paint: Moisture behind the paint causes it to lose adhesion, leading to bubbles and peeling, especially near the ceiling.
- Musty Odors: A persistent damp, earthy smell, particularly in attics or upper-floor rooms, often indicates hidden moisture and potential mold growth.
- Visible Mold or Mildew: Dark spots, especially in corners, are a clear sign of a long-term moisture problem.
Even a small stain can indicate significant hidden damage, like saturated insulation and decaying roof decking. Don't ignore these early warnings!
Exterior Warning Signs: What To Look For Outside Your Home
A visual inspection from the ground (using binoculars if needed) can reveal potential problems.
- Damaged or Missing Shingles: Look for cracked, curled, or missing shingles, especially after storms.
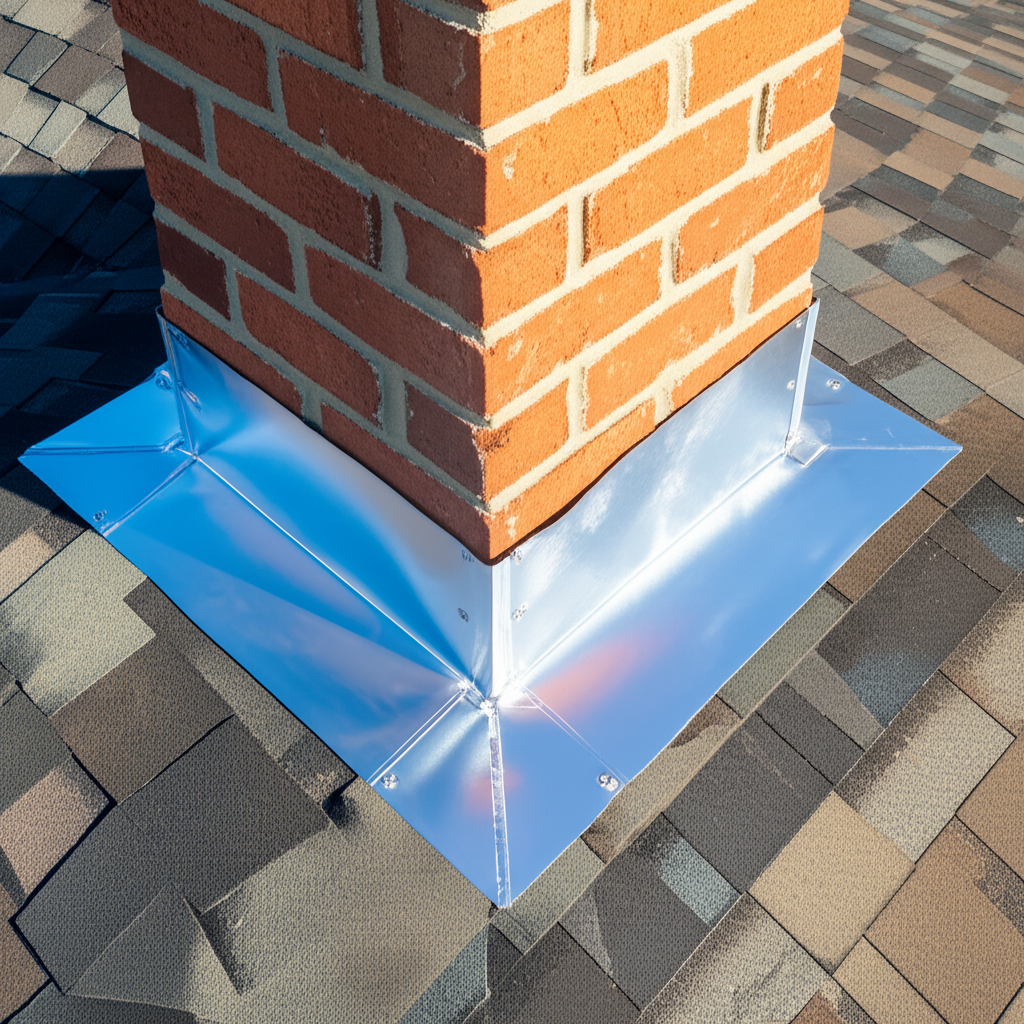
- Cracked Flashing: Pay close attention to the metal strips around chimneys, vents, and skylights. Cracks or gaps are common entry points for water.
- Clogged Gutters: Blocked gutters prevent proper water drainage, causing water to back up under the roof's edge.
Did you know that nearly 38% of U.S. homes have roofing systems in moderate or poor condition? This puts millions of properties at increased risk of leaks.
How Do I Pinpoint the Exact Source of a Roof Leak?
Finding the source is rarely easy. Water can travel long distances before appearing as a stain. Detective work is crucial for a lasting repair.
The Attic Inspection: Your First Line of Defense
On a sunny day, go into your attic, turn off the lights, and look for slivers of daylight. These are your "smoking guns." Use a flashlight to scan the underside of the roof deck.
- Water Stains: Look for dark streaks, spots, or rings on the wood sheathing and rafters.
- Soggy Insulation: Compressed, matted, or discolored insulation indicates soaking.
- Mold or Mildew: Dark, musty-smelling patches on wood surfaces signal a long-term problem.
Always trace water stains uphill towards the roof's peak. Gravity dictates that the entry point will be higher than the visible damage.
Performing a Controlled Water Test: When the Attic Fails You
If the attic inspection is inconclusive, try a controlled water test. This requires two people: one on the roof with a garden hose, and one inside the attic as a spotter.
Gently soak the roof above the stain, focusing on vents, flashing, and skylights. Start low and move up slowly. The moment the spotter sees a drip, yell! Patience is key. Never use a high-pressure nozzle.
What Are the Most Common Roof Leak Sources and Their Telltale Signs?
The vast majority (90%) of leaks originate in just 10% of the roof area. Focus your search on penetrations and transitions.
Here's a quick guide to connect interior damage to likely exterior culprits:
| Interior Sign | Most Likely Exterior Culprit | What to Look For |
|---|---|---|
| Stains on a ceiling or wall | Damaged or missing shingles | Cracked, curled, or missing shingles. |
| Drips around a bathroom fan or pipe | Plumbing vent boot failure | Cracked, brittle, or torn rubber boot around the vent pipe. |
| Water around a chimney | Damaged chimney flashing | Gaps, rust, or sealant failure where the flashing meets the chimney. |
| Leaks around an upper-floor window | Compromised step or dormer flashing | Loose, bent, or rusted metal flashing along wall-to-roof intersections. |
| Ceiling stains under a skylight | Skylight sealant or flashing failure | Cracked sealant around the glass or gaps in the metal flashing. |
| Water spots far from penetrations | Nail pops or ice damming | Shingles lifted by a backed-out nail; thick ridges of ice at the eaves (in cold climates). |
The most frequent offenders are things that interrupt the roof's smooth surface: plumbing vent boots, chimney flashing, and skylight sealant.
What Emergency Fixes Can Minimize Water Damage?
During a downpour, a permanent fix is secondary. Focus on damage control to prevent a minor leak from becoming a major disaster.
Interior Containment Strategies: Stop the Water from Spreading
- Place a Bucket: Position a bucket directly under the drip. Use a string to guide the water quietly into the bucket.
- Create a Splash Zone: Lay down plastic sheeting or a tarp around the bucket.
- Soak Up the Excess: Use old towels to catch splashes.
- Deal With Ceiling Bulges: Carefully puncture the center of the bulge with a screwdriver to drain the water in a controlled stream.
Safe Exterior Stopgap Measures: Only If Conditions Are Safe
If the weather clears and the roof is dry, a quick exterior patch can slow the leak. Never get on a wet or slippery roof!
- Roofing Cement or Sealant: Apply to small holes or cracks around flashing.
- Heavy-Duty Tarp: Secure a tarp over the damaged area, weighing down the corners with sandbags or wood blocks.
These are temporary measures only!
How Can I Perform a Permanent DIY Roof Repair?
With the right tools and patience, you can tackle many common repairs yourself.
Replacing a Damaged Asphalt Shingle
- Gather Supplies: Flat pry bar, hammer, 1¼-inch galvanized roofing nails, utility knife, roofing sealant, and a matching replacement shingle.
- Break the Seal: Gently lift the edges of the shingles above the damaged one with the pry bar.
- Remove the Old Shingle: Pop out the four nails holding the damaged shingle in place.
- Install the New Shingle: Slide the new shingle into position and secure it with four new roofing nails just below the tar line.
- Reseal: Apply roofing sealant under the tabs of the lifted shingles.
Sealing a Leaky Vent Pipe Boot
- Clean the Area: Scrape away old caulk and debris.
- Apply Sealant: Apply a generous bead of UV-resistant roofing sealant around the base of the rubber boot and where the metal flashing meets the roof.
If the boot is severely cracked, consider replacing the entire flashing unit – a more complex job.
Resealing Compromised Flashing
- Remove Old Sealant: Use a putty knife to remove all old sealant.
- Apply New Sealant: Apply a thick, continuous bead of flashing sealant along the top edge of the metal flashing.
How Can Proactive Maintenance Prevent Future Leaks?
Preventative care saves time, money, and stress.
Your Biannual Inspection Checklist
Perform thorough roof inspections in the spring and fall.
- Clean Your Gutters: Clear leaves, twigs, and debris to prevent water backup.
- Examine All Seals and Boots: Look for cracking, brittleness, or gaps.
- Look for Shingle Damage: Scan for curled, cracked, or missing shingles.
- Trim Overhanging Branches: Prevent branches from rubbing against the roof.
The Long-Term Value of Quality Materials
Investing in high-quality roofing materials reduces the likelihood of premature failures and leaks. Consider the entire roofing system, including underlayment, flashing, and ventilation.
Frequently Asked Questions
Should I Attempt a DIY Repair or Call a Professional?
DIY is suitable for replacing a single shingle or applying sealant to a small crack. Call a pro for multiple damaged spots, steep roofs, or signs of rotted decking.
How Quickly Do I Need to Act on a Leak?
Immediately! Water damage can occur in as little as 24-48 hours. Contain the water and call a roofer.
Will My Homeowners Insurance Cover a Roof Leak?
Coverage depends on the cause. Storm damage is usually covered, while leaks due to poor maintenance are often denied. Document everything!
Stop Leaks Before They Start
The secret to a leak-proof roof isn't a secret at all – it's diligent maintenance and attention to detail, especially when it comes to flashing and other vulnerable areas. By understanding the warning signs, performing regular inspections, and addressing issues promptly, you can protect your home from costly water damage and enjoy peace of mind for years to come. Ready to take control? Schedule a roof inspection today and ensure your home is shielded from the elements!